Deploy Nodes
Once a node has been commissioned (see Commission nodes) the next logical step is to deploy it. Deploying a node means, effectively, to install an operating system on it.
The agent that triggers deployment may vary. For instance, if the nodes are destined to be running complex, inter-related services that may involve scaling up or down, that is, if they will be regarded as a "cloud" resource, then Juju is the recommended deploy agent (it will also install & configure services on the deployed nodes). If you simply want to use MAAS to install a base operating system and work on the machines manually then you can deploy a node directly with MAAS.
The node, only if deployed with MAAS, will also be ready to accept connections via SSH to the 'ubuntu' user account providing an SSH key has been imported to the user's MAAS account. This is explained in SSH keys.
Note: Juju has its own way of adding SSH keys to machines under its control.
To deploy, the underlying machine needs to be configured to netboot (this should already have been done during the commissioning stage). Such a machine will undergo the following process:
- DHCP server is contacted
- kernel and initrd are received over TFTP
- machine boots
- initrd mounts a Squashfs image ephemerally over iSCSI
- cloud-init triggers deployment process
- curtin installation script is run
- Squashfs image (same as above) is placed on disk
Note: The curtin installer uses an image-based method and is now the only installer used by MAAS. The older debian-installer (preseed) method has been removed. Some remnants of preseed may still be found however. See /etc/maas/preseed directory.
Before deploying you should:
- review and possibly set the Ubuntu kernels and the Kernel boot options that will get used by deployed nodes.
- ensure any pertinent SSH keys are imported (see SSH keys) to MAAS so connections can be made to deployed nodes.
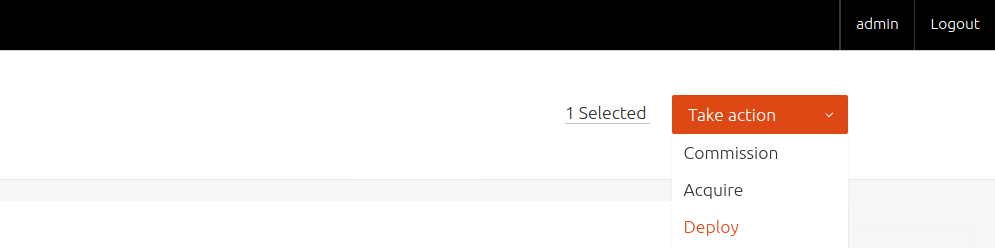
To deploy directly from MAAS simply select any given node and press the 'Deploy' button.
You then have the option of deviating from the default OS, release, and kernel. When ready, press 'Go'.

See MAAS CLI for how to deploy a node with the CLI. If doing so, you will first need to acquire the node explicitly, either via the web UI or the CLI.
While a node is deploying its status will change to Deploying 'OS', where 'OS' is the name of the OS being deployed (e.g. 'Deploying Ubuntu 16.04 LTS').
Once a node has finished deploying its status will change to Deployed 'OS' (e.g. 'Deployed Ubuntu 16.04 LTS').
Acquire nodes
Acquiring a node (sometimes called "allocating" a node) is simply a means of reserving the node so that it is no longer available to any other process, whether that process be MAAS itself (e.g. another MAAS user) or a process such as Juju that uses MAAS as its source of backing machines.
Before a node is deployed it must therefore always be acquired, resulting in a status of 'Allocated'. However, when deploying from the web UI this action is performed automatically (and invisibly).
The action remains useful in terms of reserving a node for later use. To acquire a node explicitly simply select the node and apply the 'Acquire' action.
See MAAS CLI for how to acquire a node with the CLI.