Web UI
The MAAS web UI is where users will spend much of their time. It is the preferred way to manage MAAS. This page will explain how to access the web UI for the first time and also draw attention to the first iteration of the MAAS Dashboard.
Access the web UI
Unless MAAS was installed from a snap (see Install from snap) or the Ubuntu Server ISO (see Install from ISO), you'll need to create a user in order to access the web UI. This initial user is a MAAS administrator:
sudo maas createadmin --username=$PROFILE --email=$EMAIL_ADDRESS
For example:
sudo maas createadmin --username=admin --email=admin@example.com
The username can be anything. You will also be prompted to supply a password
for the user. The command option --password=$PASSWORD can be used to specify
one but, depending on your environment, this may pose a security risk.
Note: At this time MAAS does not make use of the email address. However, it may do so in the future.
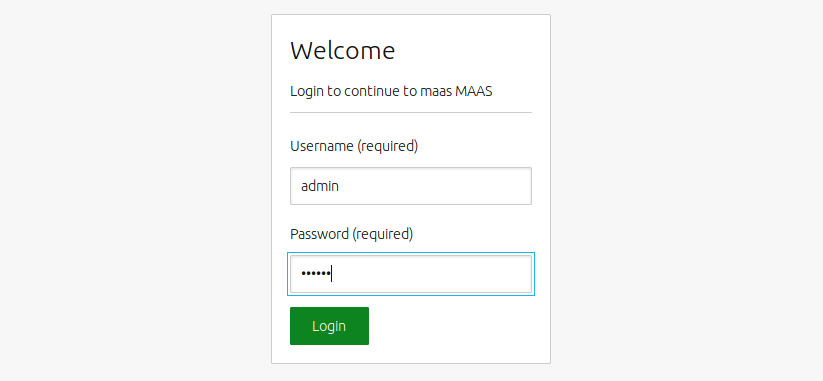
You can now log in here:
Where $API_HOST is the hostname or IP address of the region API server.

The initial administrator will be shown the MAAS Dashboard after they log in for the first time. Here, there will be the option of embarking on a configuration journey in order to get MAAS up and running quickly. This is explained in Configuration journey.
Once logged in, an administrator can create regular users as well as additional administrators. See User Accounts for this.
See MAAS CLI for logging in via the CLI and working with the CLI.
MAAS Dashboard
The Dashboard will be a central hub for the user to branch out to other parts of the web UI to perform certain operations. For now, it points to the main pages of the web UI such as Machines, Devices, Controllers, Pods, Images, DNS, AZs, Subnets and Settings. It is also where the results of Device discovery are recorded.
The Dashboard is available by clicking the MAAS icon (top-left corner). Its URL is:
